Using Mailchimp to Deliver Posts is SMART!
Having people subscribe to your blog is extremely powerful and helps to generate high levels of website traffic and stay connected to your readers. Feedburner used to be a great tool for emailing subscribers automatically when a new post on your site was published.
Well, Feedburner is DEAD and now you can use Mailchimp to server your blog posts to your subscribers. Using Mailchimp to deliver posts is the best way to keep your readers engaged and grows your list.
WordPress publishes all of your blog posts to an RSS feed. Pages, and custom post types, are not included.
WordPress gives you four possible URLs for your website feed:
- www.yourwebsite.com/?feed=rss
- www.yourwebsite.com/?feed=rss2
- www.yourwebsite.com/?feed=rdf
- www.yourwebsite.com/?feed=atom
The first two feed URLs use the RSS standard. The third option is RDF; which stands forResource Description Framework. It is a standard that was developed by the World Wide Web Consortium (W3C). The fourth option is atom; a syndication format that was originally intended to replace RSS.
While many websites still offer atom feeds, RSS 2.0 has become the most popular feed format online.
As such, if you are using the default permalink structure, it is better to promote the RSS 2.0 feed URL www.yourwebsite.com/?feed=rss2.
If you are using pretty permalinks, your website feed URLs are:
- www.yourwebsite.com/feed/
- www.yourwebsite.com/feed/rdf/
- www.yourwebsite.com/feed/atom/
Note that www.yourwebsite.com/feed/RSS/ and www.yourwebsite.com/feed/RSS2/ redirect to www.yourwebsite.com/feed/.
Step #1 – create a campaign
Visit your Mailchimp account and click on “Create Campaign” button.

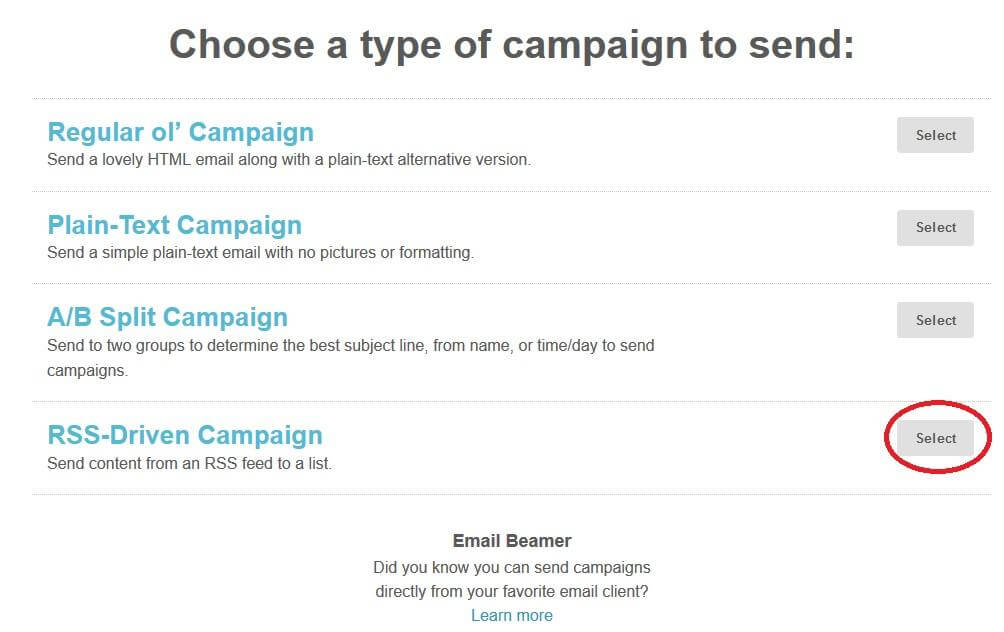
Step #2 – select RSS campaign
Make sure you select the right kind of campaign which is RSS.
Step #3 – RSS URL
Retrieve your WordPress RSS URL as explained in the beginning of this post.
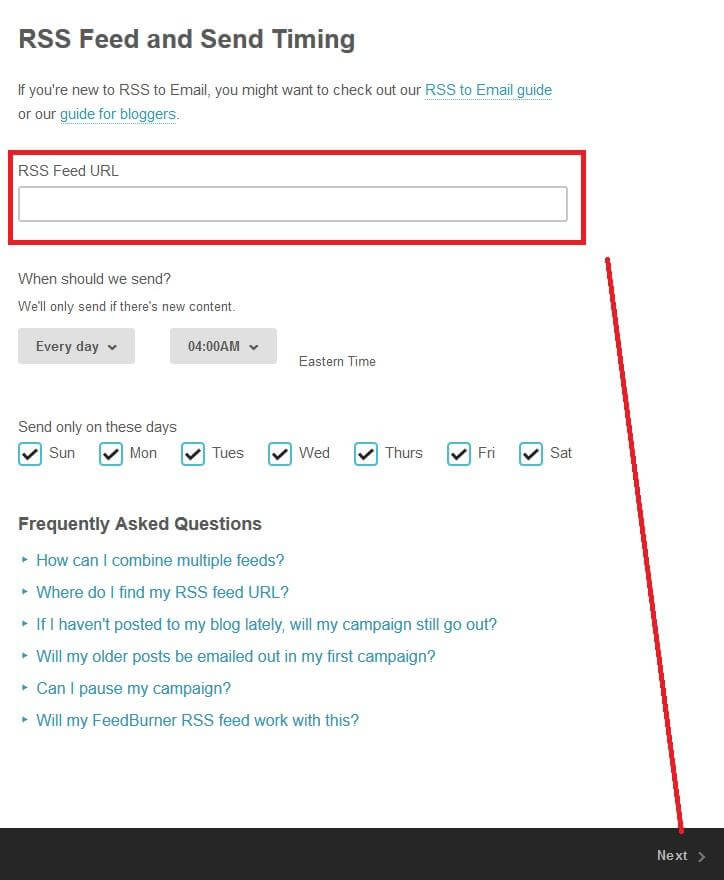
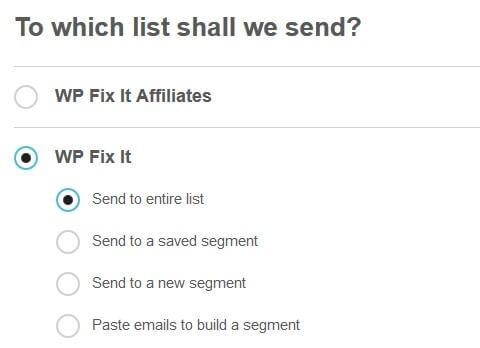
Step #4 – list selection
Choose which list you would like to email your new posts to.
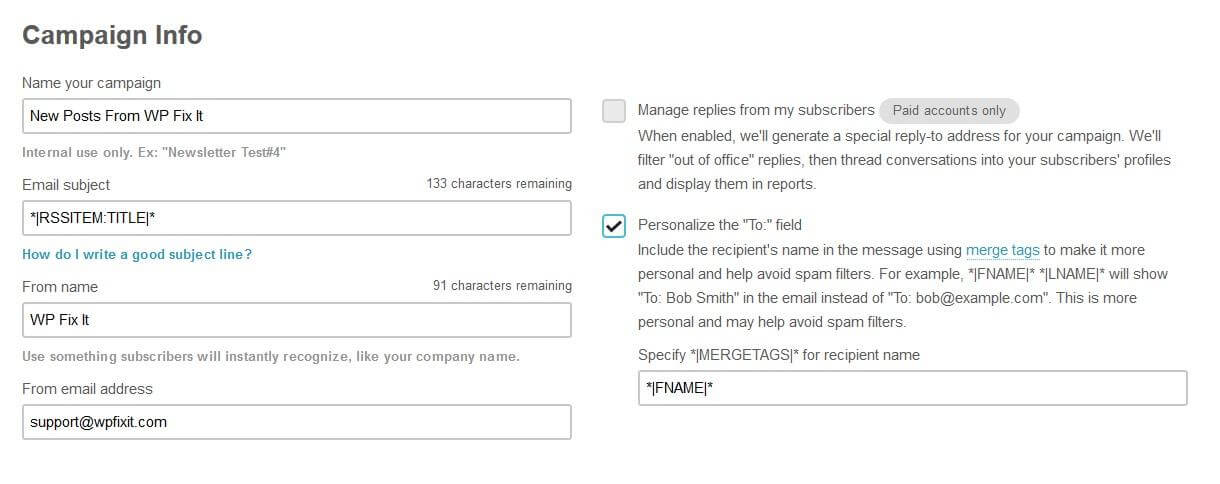
Step #5 – the details
Fill in campaign details and select options.
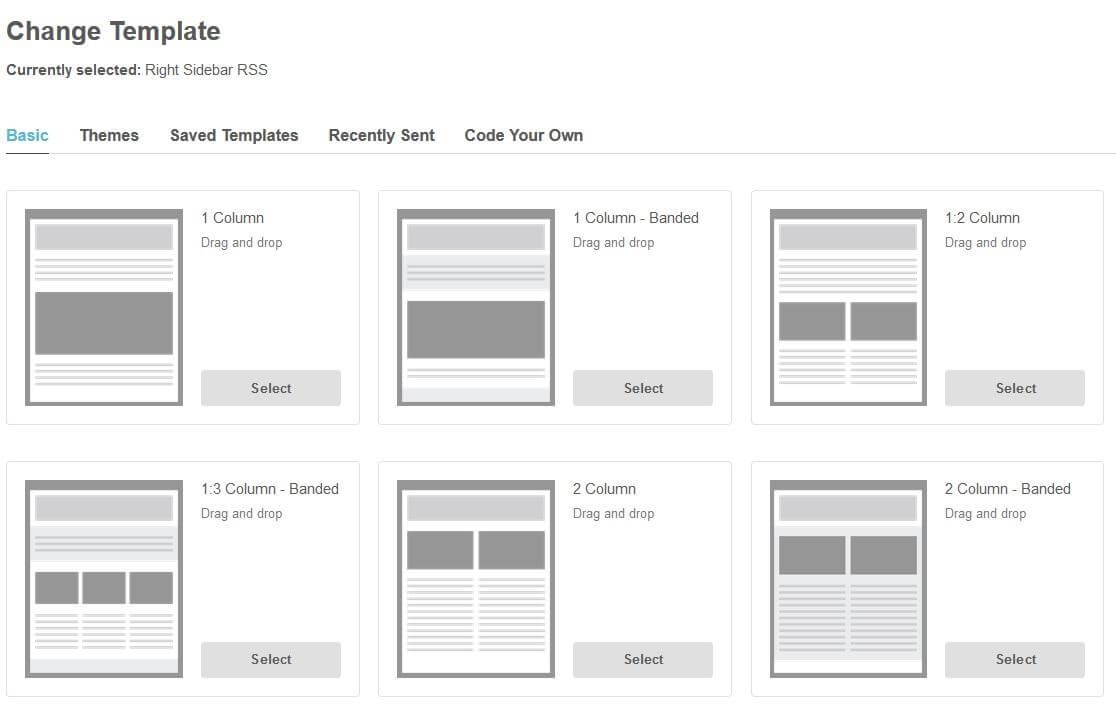
Step #6 – pick design template
Select the design template you will use to display your content that is delivered.
Step #7 – email content
Setup the way your content will be displayed in the emails that go out to your subscribers.
SHORTCODES:
*|RSSITEM:TITLE|* = Will pull blog title
*|RSSITEM:CONTENT|* = Will pull blog content
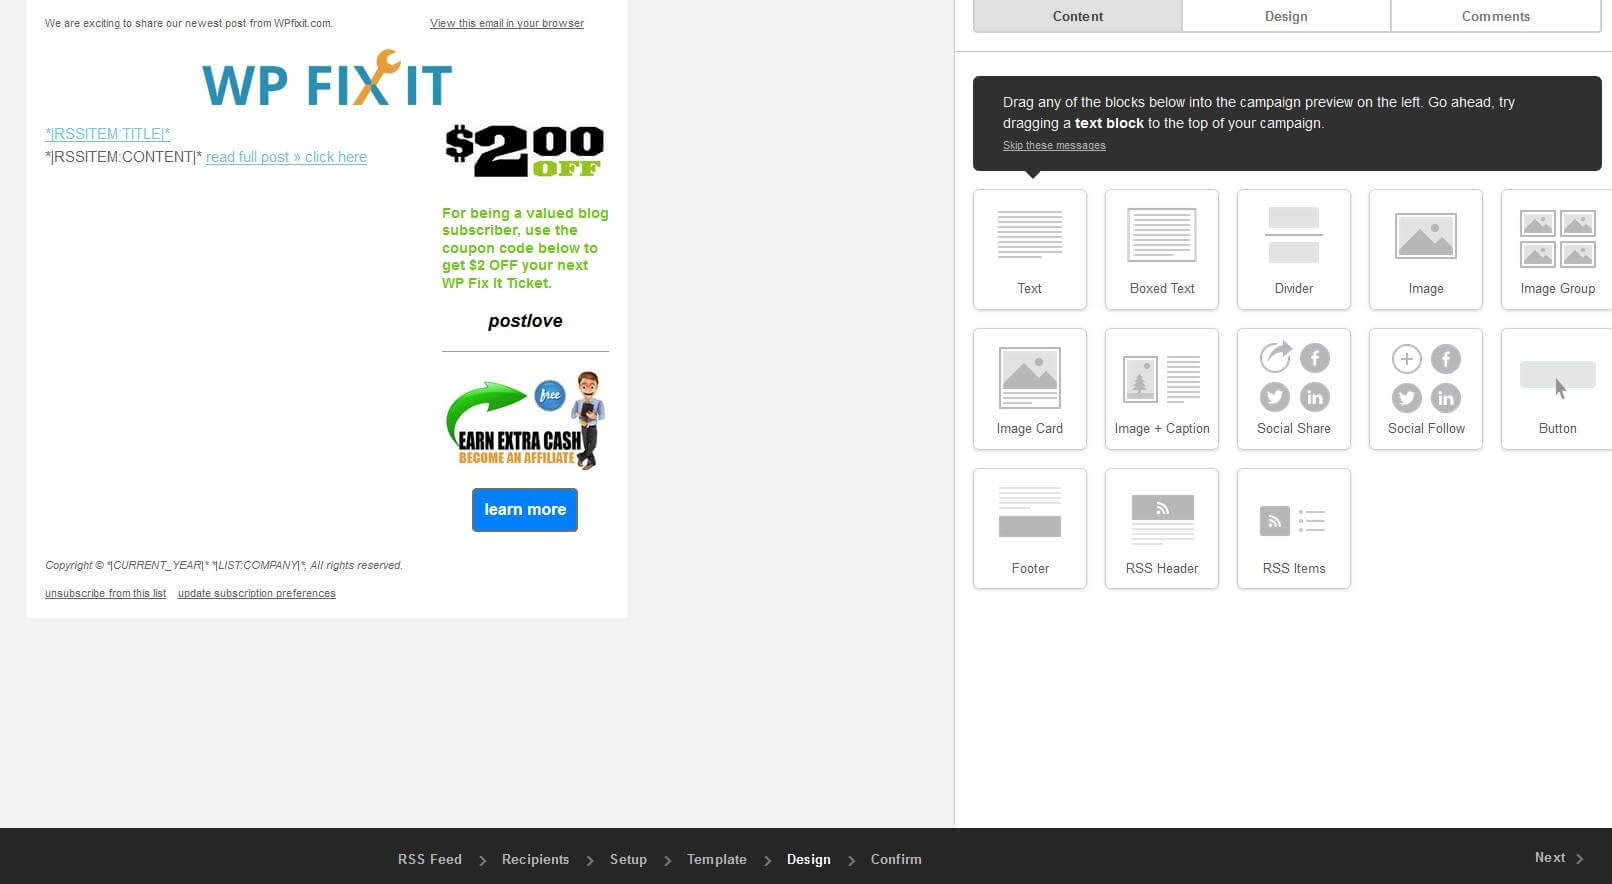
Step #8 – release campaign
Save and begin your RSS campaign.
